Sep 24th 2021
Connecting Lightburn to controller
Sometimes we need to manually setup connection between Lightburn and laser controller.
For USB connection, we need to install the driver first.
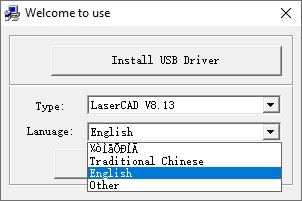
For AWC controller: When installing LaserCAD, choose to "install USB driver."
For R6 controller: install RDworks.
For T9 controller: install Lasersoft.
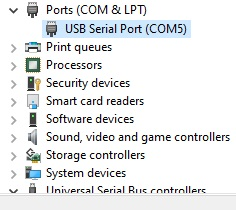
If the usb driver is successfully installed, under Windows device manager, the USB device should not have yellow! icon.
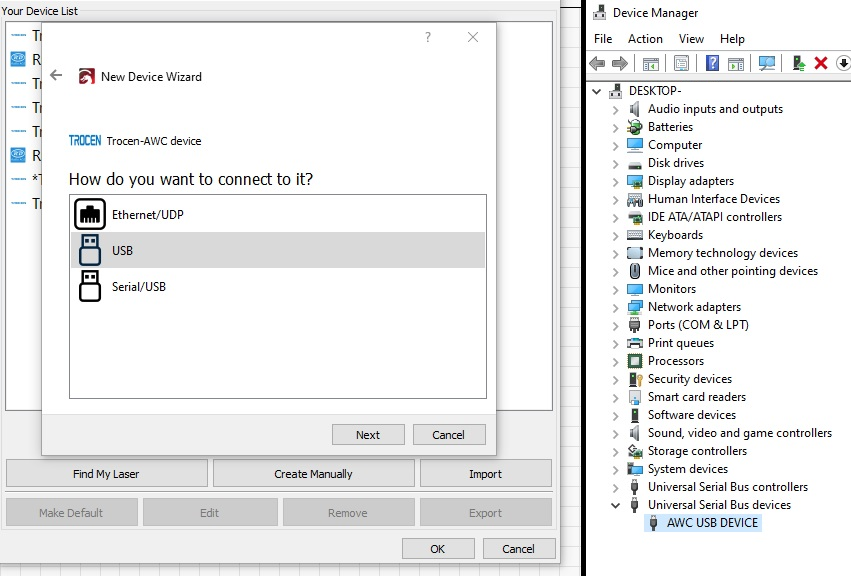
You may "create manually" new device. This screenshot is for AWC controller.
The following picture is for Ruida.
Ethernet connection does not need usb driver. First is to find out the IP address of you computer.
For Windows: You may check under “Network.” ->“Properties.” ->“View Status”->”Local Area Connection.” Click "detail" and look for the IPV4 address.
For Mac: Under "Network" in the System Preferences panel->"Show"->lan->TCP/IP
Add 1 to the 4th number. For example, if the computer ip is 192.168.1.45, we can put 192.168.1.46 in both Lightburn and the laser controller.
If Ethernet and USB cable do not work, one more option is to use a USB thumb drive FAT32 format. Output the laser job to a UFile (UD5 in LaserCAD). Save it on the USB thumb drive and transfer it to the laser controller.
Sometimes Lightburn may show "disconnected," but you should be able to send job file if it is setup correctly.
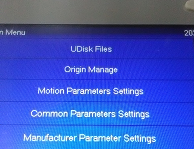
Trocen touchscreen menu:
BONUS:
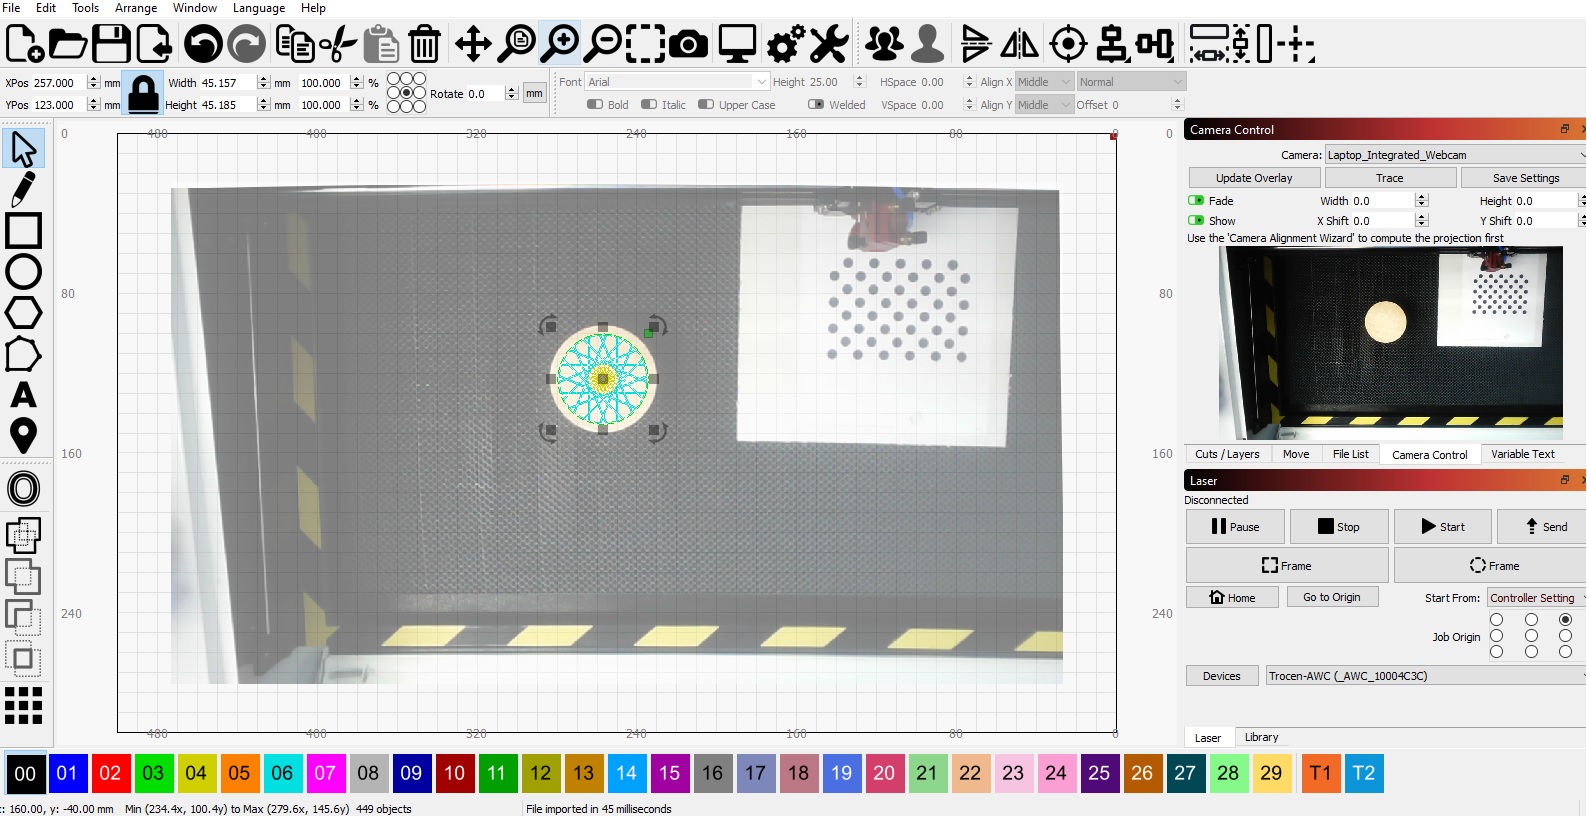
Lightburn camera feature is cool. After calibration, you may align design on the captured photo. Below is a screenshot of our Barracuda machine using a regular USB camera. For large bed size, you may use camera with wide angle. Narrow angle camera is OK when you do not need to see the entire work bed.